Imagine stepping into your backyard and seeing dull grass spots. It takes away the joy from your outdoor space. As you sip your morning coffee, the vibrant greens of spring seem far away.
This is a common problem for many homeowners trying to keep their lawns beautiful. Instead of a costly makeover, there’s a simple way to fix it: DIY lawn painting. This method can quickly make your garden look better without big changes. Get ready to bring new life to your outdoor area with a quick makeover!

Key Takeaways
- DIY lawn painting is an effective method to enhance your lawn’s appearance.
- This approach serves as a temporary solution for dull patches on lawns.
- Proper planning and materials are crucial for successful lawn painting.
- Achieving a natural look is possible with the right techniques.
- Combining lawn painting with other care methods can yield great results.
Understanding Dull Patches on Your Lawn
Dull patches on your lawn can be upsetting. Knowing why they happen helps make your lawn look great. These faded spots often mean there’s a problem that needs fixing. Learning about common causes and signs helps you take better care of your lawn.
Common Causes of Dull Patches
Dull patches can come from many things. Here are some main reasons:
- Lack of Sunlight: Some parts of your lawn might not get enough sun. This makes the grass weak and patchy.
- Overwatering: Too much water can make the soil hard. This stops roots from growing, leading to dull spots.
- Soil Compaction: When soil gets too dense, water and nutrients can’t reach the roots. This makes the grass look faded.
- Pest Infestations: Pests can damage the grass unevenly. This makes it look like the grass is fading.
Signs of Lawn Discoloration
Spotting lawn discoloration early is key. Look out for these signs:
- Yellowing blades mean the grass is not healthy.
- Uneven growth makes the lawn look patchy.
- Rough or crispy grass often means it’s not getting enough water or nutrients.
Fixing these problems can make your lawn healthier. This means lawn painting might be a better choice. Understanding these issues helps you care for your lawn in a more meaningful way.
Preparing for DIY Lawn Painting
Starting a DIY lawn painting project can make your outdoor space look amazing. It’s important to prepare well to get great results. We’ll talk about the tools and materials you need and how to pick the best paint.
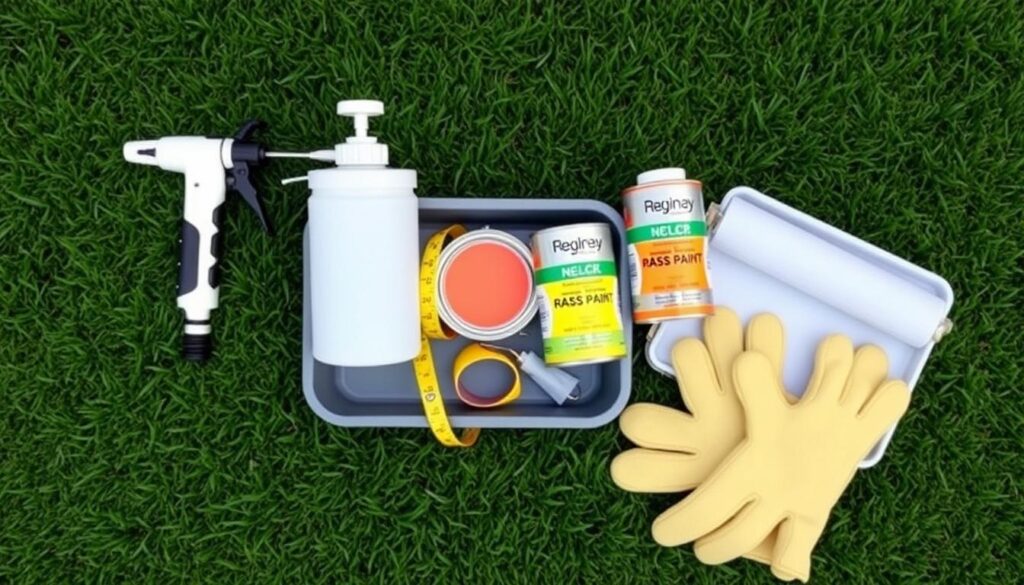
Essential Tools and Materials Needed
Having the right tools is key for a good finish. Here’s what you’ll need:
- Sprayer or Paintbrush: A sprayer gives even coverage, while a brush is better for details.
- Protective Gear: Gloves, masks, and goggles keep you safe while painting.
- Lawn Roller: Great for big areas to apply paint evenly.
- Drop Cloths: Use them to cover areas you don’t want to paint and avoid spills.
Choosing the Right Lawn Paint
Choosing the right paint is crucial for lasting results. Look for paint made for grass. Here’s what to look for:
- Grass-Safe Formulation: Make sure the paint won’t harm your grass.
- Fade Resistance: Pick paints that stay bright longer.
- Easy Application: Choose paint that’s easy to apply with your tools.
Quality tools and paint will make your lawn look great. Your DIY effort will pay off.

DIY Lawn Painting: Temporary Solutions for Dull Patches
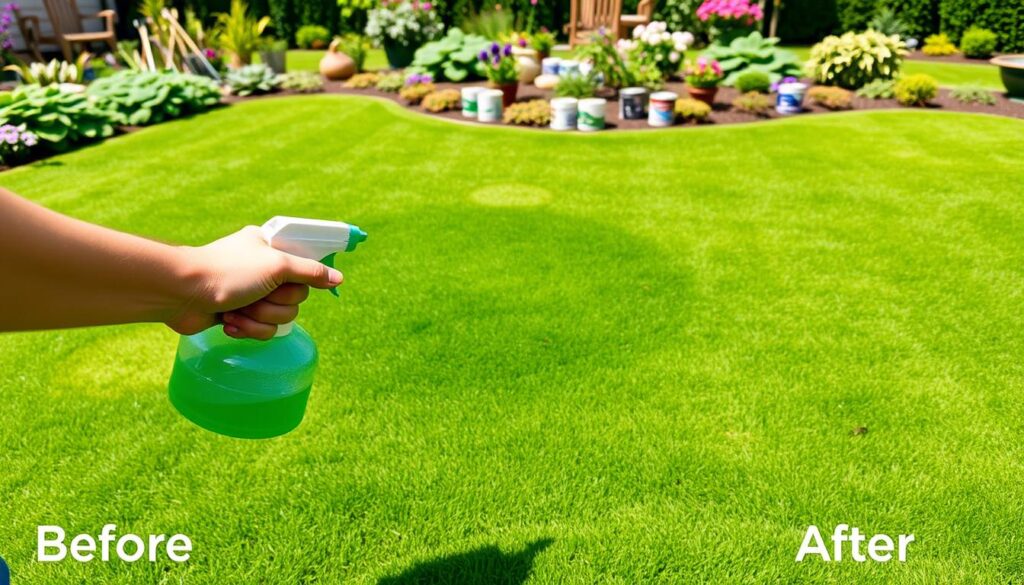
Lawn painting is a great way to make dull patches look better. Follow this lawn painting tutorial to make your lawn look vibrant. It will show you how to do it step by step for a smooth finish.
Step-by-Step Instructions for Lawn Painting
- Preparation: Start by mowing your lawn short and even. This makes sure the grass is healthy for painting.
- Mixing the Paint: Mix lawn paint with water, usually 1:1. This makes the paint go on evenly and is easier to spread.
- Testing the Color: Test the paint on a small area first. This checks if the color looks right to you.
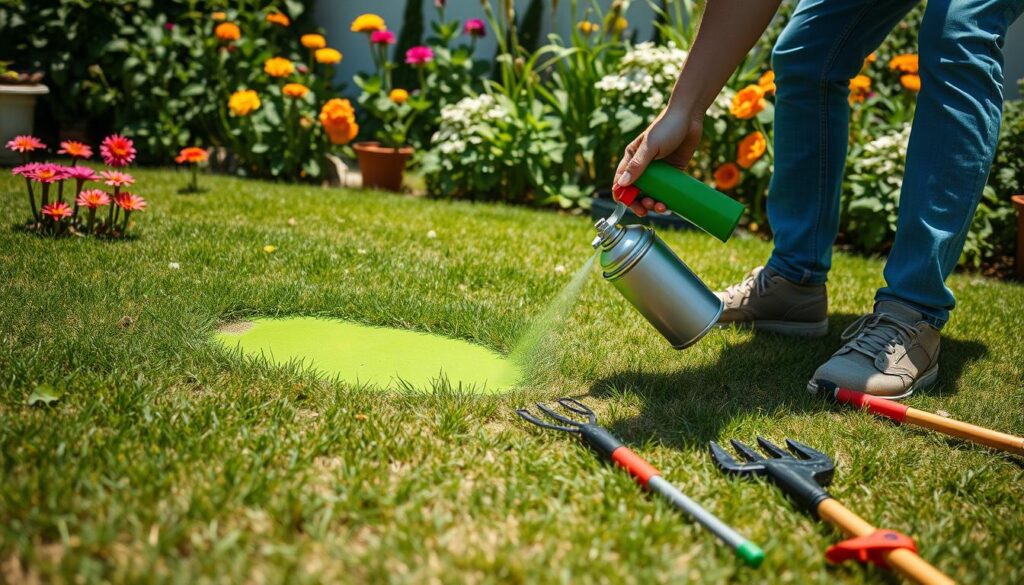
- Application: Use a sprayer or roller for an even coat. Paint in sections to avoid mixing colors and for a smooth finish.
- Drying: Let the painted area dry fully before walking on it. How long it takes depends on the weather.
Tips for Achieving a Natural Look
Here are some tips to make your lawn painting look natural:
- Use different shades of green paint to look like real grass.
- Paint high traffic areas lighter and less seen spots darker for contrast.
- Use a paint sprayer for a uniform finish. It helps avoid streaks and uneven spots.

With these tips and steps, you’re ready to start your lawn painting project. You’ll get a vibrant, healthy look for your yard with this quick fix.
Lawn Painting Techniques for Quick Fixes
Innovative lawn painting techniques can be great for quick fixes. They help with dull patches or discoloration. Spray paint and traditional paint have different benefits and limitations.
Using Spray Paint vs. Traditional Paint Solutions
Spray paint is fast, making it perfect for quick fixes. It’s easy to apply over big areas. On the other hand, traditional paint is better for small or detailed spots. It gives more control.
| Feature | Spray Paint | Traditional Paint Solutions |
|---|---|---|
| Application Speed | Fast | Slower |
| Coverage Area | Large areas | Detailed areas |
| Evenness of Application | Consistent | Varies by technique |
| Control | Less control | More control |
Applying Lawn Paint Effectively
Here are some tips for applying lawn paint well:
- Prepare the lawn by mowing and cleaning it before painting.
- Dilute the paint if needed, following the maker’s instructions.
- Test the paint on a small area to check color consistency.
- Paint during dry weather for better stick.
- Use a sprayer for big areas or a brush for details.
Creative Lawn Ideas for Temporary Lawn Solutions
Looking for ways to make your outdoor space pop? Creative lawn ideas can do the trick. Mixing creative grass painting with lawn care boosts both looks and health. Techniques like overseeding and fertilizing can team up with temporary fixes for a lush look.
Combining Lawn Painting with Other Lawn Care Techniques
Adding creative grass painting to your lawn care routine can make a big difference. Pairing it with overseeding brings new life to your lawn. This combo not only makes your lawn look better but also helps it stay healthy. Here are some great combinations:
- Lawn Painting & Overseeding: Refresh color and promote growth.
- Lawn Painting & Fertilization: Enhance nutrient absorption while maintaining visual appeal.
- Lawn Painting & Aeration: Improve soil health before adding a layer of color.
Incorporating Patterns and Designs in Your Lawn Painting
Temporary lawn solutions can be both fun and artistic. Creative grass painting lets you add unique patterns and designs. You can use stencils or go freehand for striking visuals. Here are some design ideas to try:
- Stripes for a classic, manicured look.
- Geometric patterns for a modern twist.
- Seasonal themes for holidays or special occasions.
Conclusion
DIY lawn painting is a smart and budget-friendly way to make your lawn look better. It’s a quick fix that can make your outdoor space look lively and welcoming. The simple painting methods we talked about can hide any ugly spots and give your lawn a fresh look.
Think about adding these easy painting tips to your lawn care routine. With a little creativity and the right tools, you can change your lawn’s look without spending a lot of time or money. Whether you want to brighten up a small spot or make a big statement, these DIY tips can help you do it.
Don’t be afraid to try out different designs and colors. Remember, keeping your lawn looking good is an ongoing job. With the right approach, you can have a beautifully painted lawn that’s perfect for outdoor parties and makes your home look great from the street.
FAQ
What is DIY lawn painting?
DIY lawn painting is a way to make your yard look better by painting the grass. It can fix dull spots and make your lawn look nicer without big changes.
How can I identify if my lawn has dull patches or discoloration?
Look for yellow grass, uneven growth, and patchy spots. These signs might mean your lawn needs more sunlight, less water, or pest control. Painting can help, too.
What tools and materials do I need for DIY lawn painting?
You’ll need a sprayer or brushes, gloves, masks, and safe lawn paint. Getting ready right helps you paint without hurting your grass.
What are some easy tips for achieving a natural look when painting my lawn?
Blend colors well, pick grass-like shades, and paint evenly. Stencils or patterns can also make your lawn look better.
What are the differences between spray paint and traditional paint solutions for lawns?
Spray paint is quick for big areas. Brush paint is better for small spots and detailed work. Choose based on your project size.
Can I combine lawn painting with other lawn care techniques?
Yes, painting with overseeding and fertilizing can make your lawn look great. This mix of methods can really improve your outdoor space.
How long will painted grass last?
Painted grass lasts based on weather and foot traffic. Good paint can last weeks to months before needing touch-ups.
Is DIY lawn painting safe for my pets and children?
Safe, non-toxic grass paints are okay for pets and kids. Just keep them away until the paint dries to avoid accidents.


